The IP address is the single most important thing about you online. I mean, we all know each user has a unique IP that is used for various purposes, such as online communication. As soon as you connect your iPhone to the internet, you’re assigned an address of the network you’re connected to.
However, for many reasons, some people want to know how to change their IP address on an iPhone. First, when your iPhone IP address is exposed, your ISP or even hackers can track your online activities and infringe on your privacy through the information that this address provides.
Another reason why people want to change IP addresses on iPhones lies in bypassing restrictions and geo-blocks. By getting another one, you can unblock restricted websites and even bypass IP-based bans that can happen on forums or online games.
But how to change your IP address on an iPhone, then? Are there a couple of methods I can try? YES! And today, I’ll show you all of them in my traditional step-by-step guides, to make sure you fully grasp everything and are ready to perform the solutions on your own.
Change Your IP Address on iPhone in Seconds
The best way to change your iPhone’s IP address is with a VPN. We recommend NordVPN as the most capable provider with benefits like uncapped bandwidth, 110+ countries, and a masterfully crafted iOS app. Here’s how to use it:
- Subscribe to NordVPN. It’s risk-free (30-day refund policy) and inexpensive, thanks to discounted 2-year plans.
- Install NordVPN on your iPhone through the Apple App Store.
- Open the app and sign in.
- Connect to a VPN server of your choice to change your IP.
How to Change IP Address on iPhone With a VPN
For me, the absolute best way of changing your IP on any iPhone is by using a VPN. A VPN stands for Virtual Private Network and it’s a service that offers a lot of benefits. The first benefit is routing your traffic through a VPN tunnel, which keeps your online activities private.
It does so by changing your IP address to another country, which also changes your online location (you can also connect somewhere in your country if you prefer). Here, we can already guess the two benefits you’ll get – online privacy and the ability to unblock geo-restricted sites. For example, you can use a VPN to bet online abroad if you want.
Nevertheless, if you change your IP on an iPhone this way, you will get these two but also a lot more VPN benefits, such as browsing the dark web safely, saving money on online purchases, gaming with low ping, and much more. I’m telling you this because it’s the only method on this list with these benefits.
With other methods that I’ll present, you’ll have virtually no benefits aside from the iPhone IP change. For this purpose, I will use NordVPN and the tutorial that I’ll give you is with this provider in place. Rest assured, it works the same with all providers.
If you want to evaluate other possibilities, here are our top recommendations:

![]() 8922 servers
8922 servers
![]() 129 covered countries
129 covered countries
![]() 30 days money-back guarantee
30 days money-back guarantee
![]() 10 simultaneous connections
10 simultaneous connections
9.8 /10

![]() 3000 servers
3000 servers
![]() 105 covered countries
105 covered countries
![]() 30 days money-back guarantee
30 days money-back guarantee
![]() 10 simultaneous connections
10 simultaneous connections
9.4 /10

![]() 12000 servers
12000 servers
![]() 100 covered countries
100 covered countries
![]() 45 days money-back guarantee
45 days money-back guarantee
![]() 7 simultaneous connections
7 simultaneous connections
9.2 /10
1. Get a VPN
Let’s start by getting a VPN. As said, I recommend NordVPN as the best iPhone VPN service with 6,500+ servers in 111 countries. This means you can alter your IP to 111 countries, such as the US, Canada, Japan, Germany, Singapore, the UK, Italy, and many others.
In addition, we’re talking about the fastest provider on the market, which grants exceptional speeds on all servers with no compromises. Needless to say, the provider offers all of the benefits mentioned above but the point is that it isn’t free.
Don’t fret. It has a 70+% discount and a couple of free months for the two-year plan along with a 30-day money-back guarantee. This means you can use it to change your IP address on your iPhone, enjoy the benefits, and get a FULL refund in the first 30 days if you don’t want to use it anymore.
If you’re interested, I highly recommend using the button above to get this cheapest deal on NordVPN. After all, it won’t last forever, so don’t be afraid to check it out now.
2. Install a VPN on the iPhone
Once you’ve subscribed to NordVPN and provided login credentials, you only need to install NordVPN on your iPhone. NordVPN works on at least iOS 12.0 or later and it even offers a 7-day free trial for iPhone users, so it’s a great choice after all.
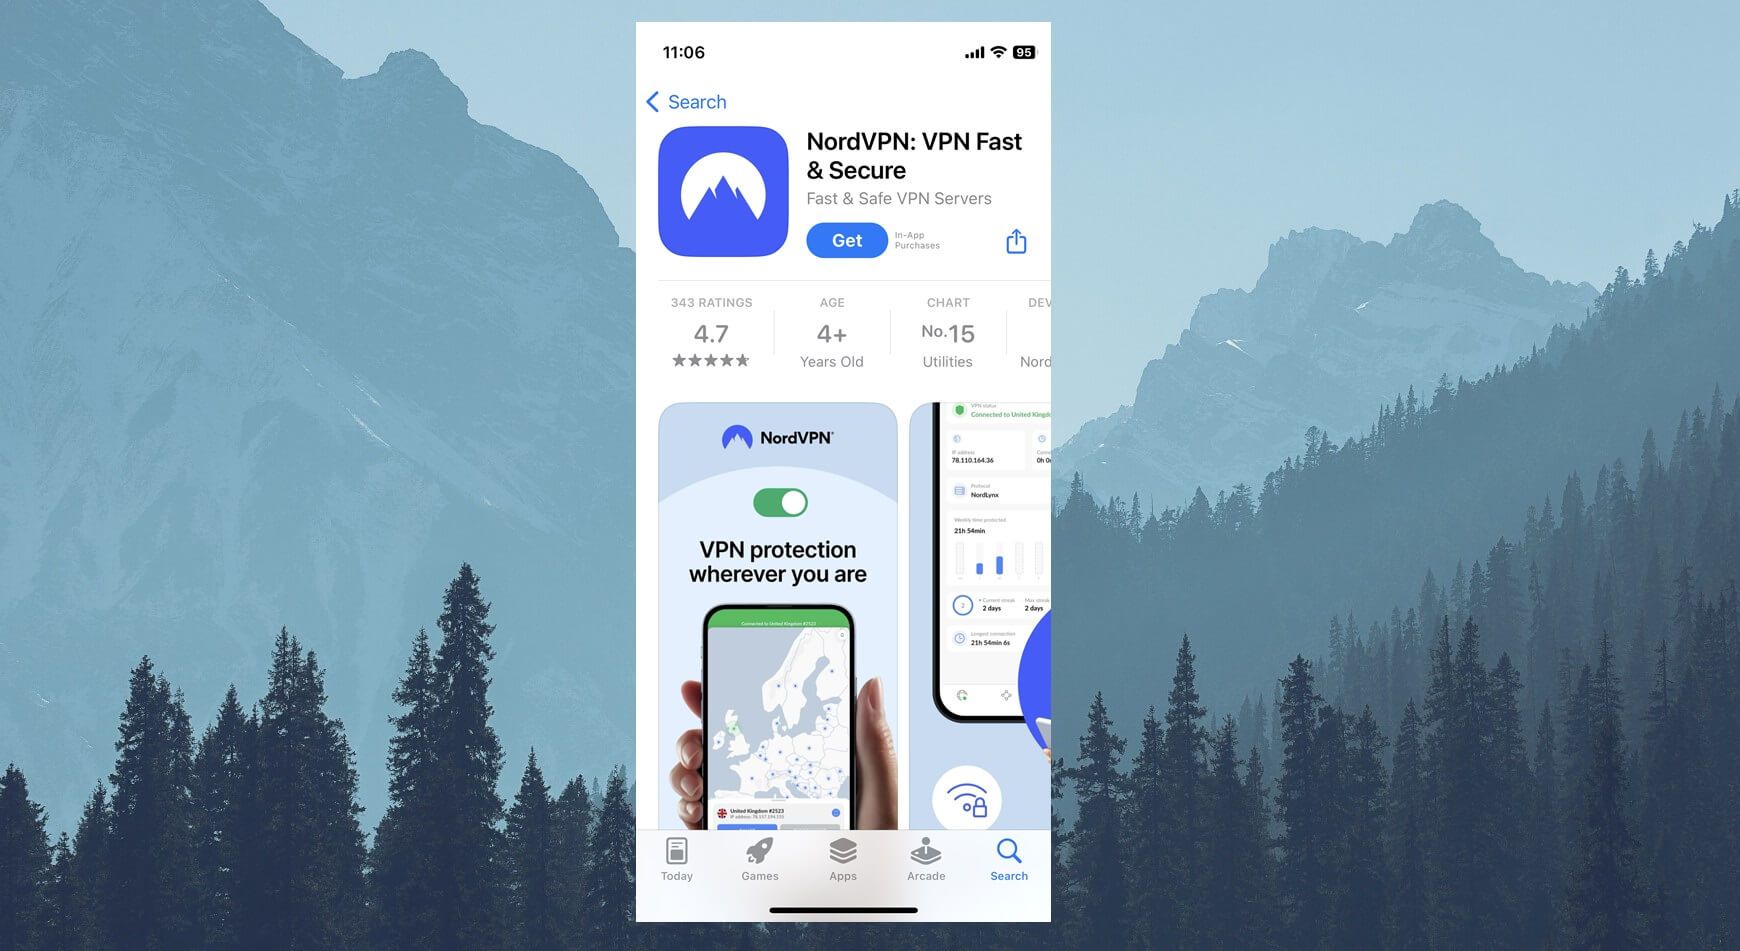
Visit the Apple Store, find NordVPN, and download it. This will take no more than 15 seconds, after which, you’re ready to move to another step.
3. Open a VPN and Connect to a Server
Now, it’s time to open NordVPN and sign in with the credentials you provided when purchasing it. Use your email and password or sign in with Google if you’ve used your Gmail – it’s totally up to you.
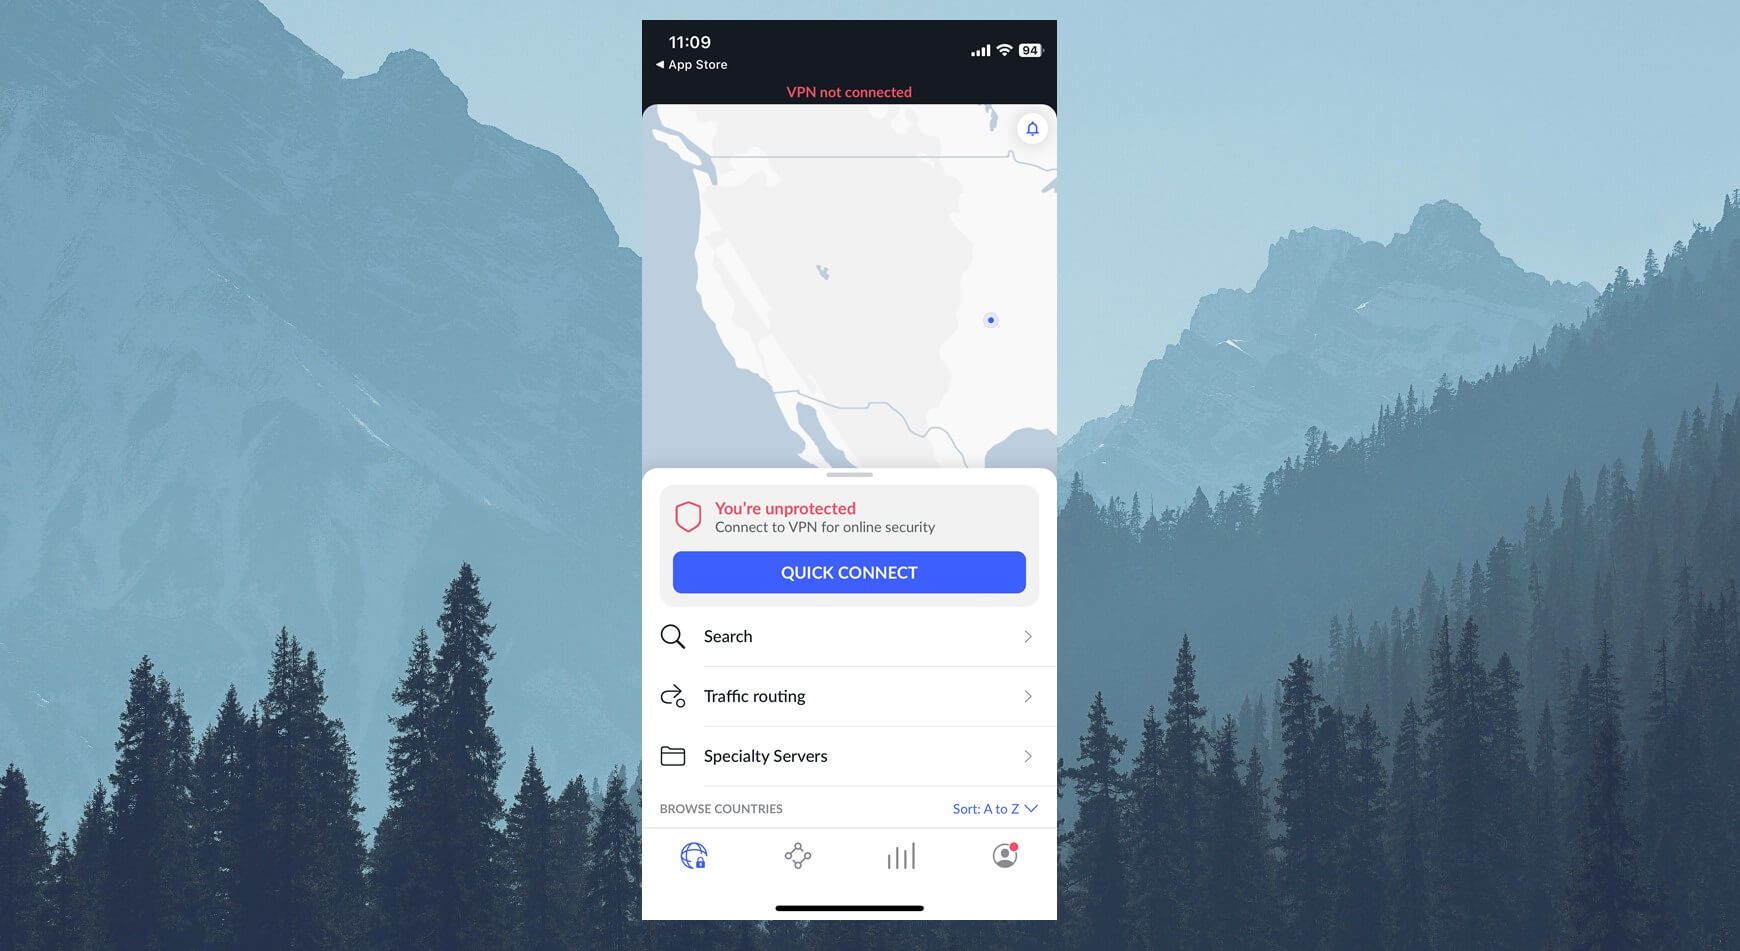
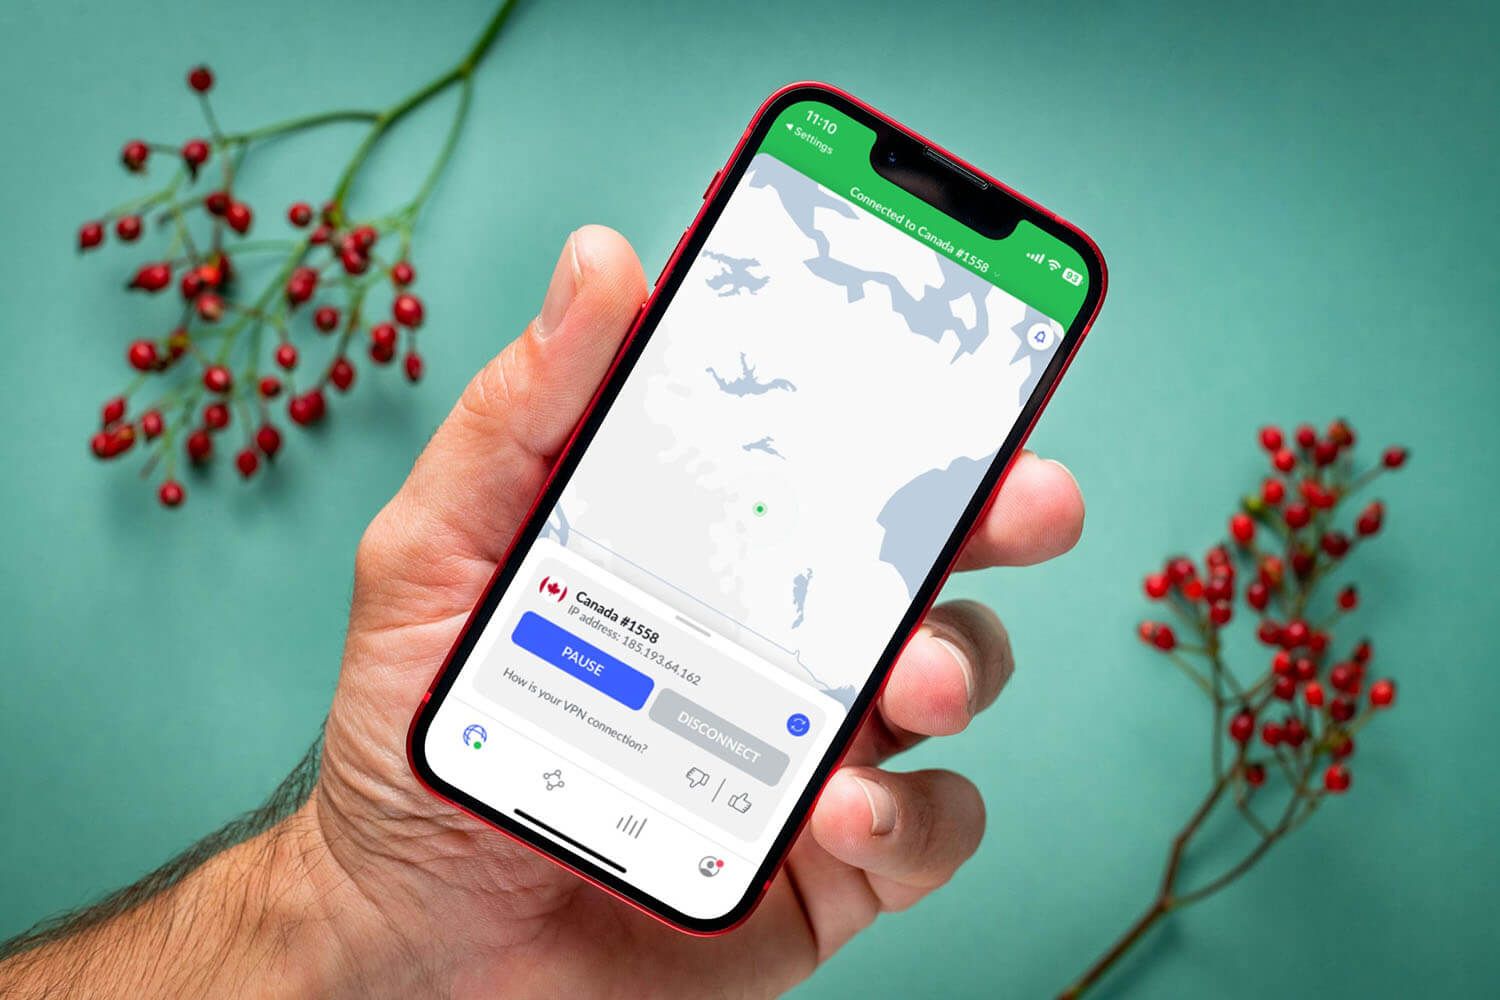
The interface of NordVPN will look like the one in the image above. From here, scroll up to open the server list. Decide on where you want to be seen. In this case, I will change my IP address to Canada, for example.
To do that, I’ll find Canada on the server list and tap on it once. If your iPhone asks you to allow the VPN connections in your settings after that, do it, and in less than two seconds, the connection will be established.
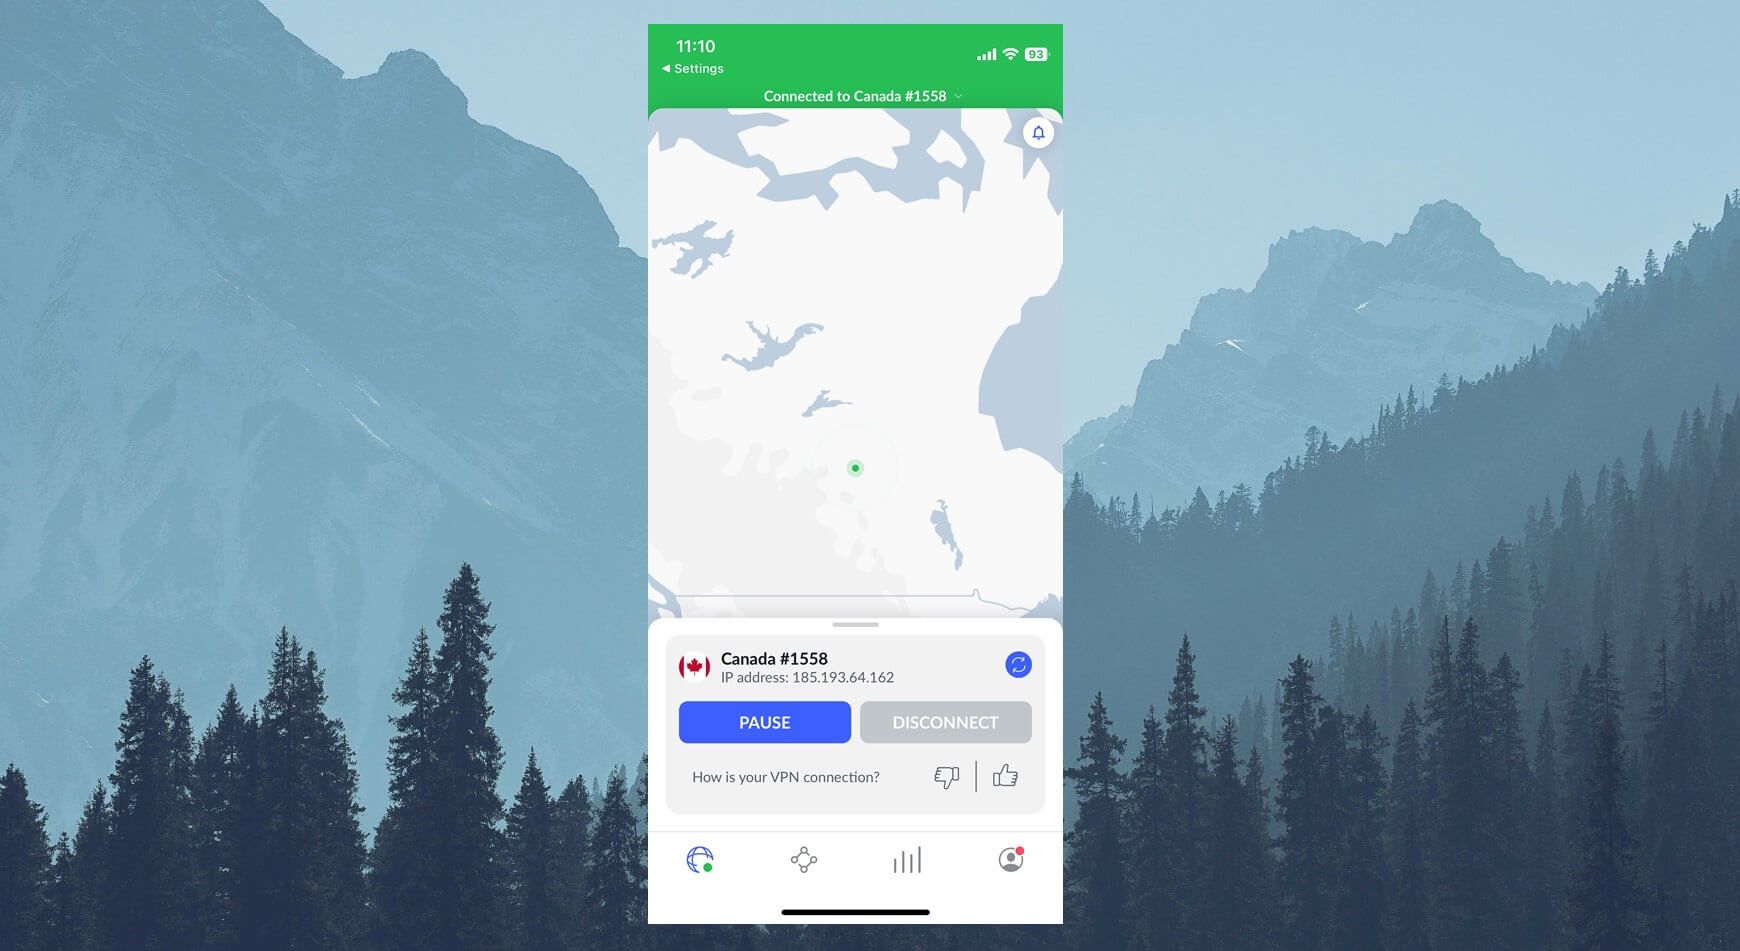
This is indicated by NordVPN’s upper portion turning green, with the message that says that you’re connected to the server, which implies that your new IP is in place.
4. Make Sure Your IP Is Changed
Just to make sure everything went well, I recommend using any website for checking your IP. I often use iplocation.net to do that. Simply visit this website and take note of the IP you see. Is it different from your original IP? Is it in the country you’ve selected on your iPhone?
In that case, the process is a success. You’ve changed your IP on an iPhone – congrats!
How to Change IP Address on iPhone Manually
If you don’t want to use a VPN, you can always change your IP address on an iPhone manually. However, while this method seems easier, know that it yields no special benefits compared to a VPN service.
This way, you can change your IP to another address from the pool of your ISP. This address will still be in your country, with no additional security and privacy, no ability to bypass geo-blocks, or anything else that a VPN will give you.
Still, it’s worth trying if you need a quick and simple iPhone IP address change. Here are the steps.
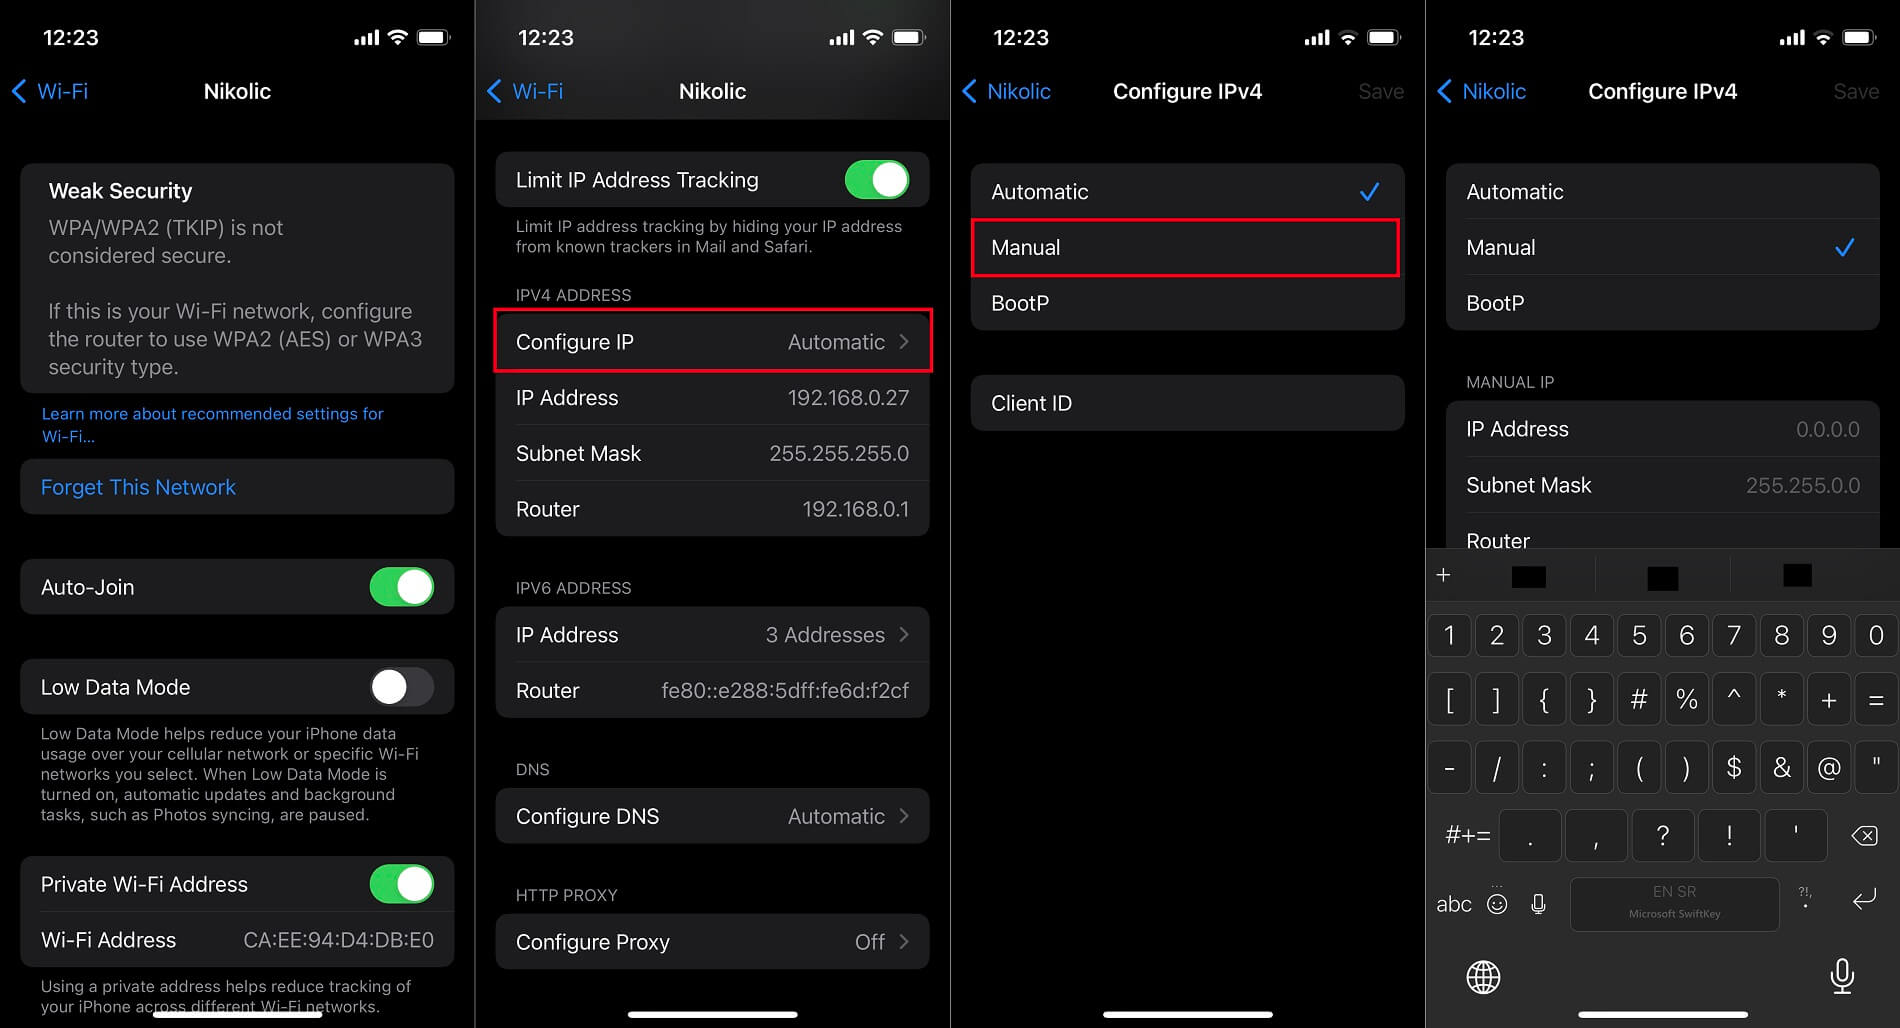
- Open Settings on your iPhone
- Click on Wi-Fi and find the network you’re connected to. Tap on it.
- In the new menu, scroll down and find the option that says “Configure IP.” It will be set to Automatic, but tap once on it and choose Manual.
- Once you do that, simply enter a new IP address plus the subnet mask and the router address.
- Tap Save and your IP address will be changed. You can now close the Settings menu and browse the internet by using the new IP address.
How to Change IP Address on iPhone by Renewing the Lease
The last method to change your IP on an iPhone is to renew the lease in the Settings menu. I’ve intentionally left this method for the end because it’s not as efficient and renewing the lease isn’t a guarantee that your IP address will change.
The method is dependent not only on your WiFi settings but also on your router, so it might not work for everyone. Not to mention that it has the same characteristics as the previous method. In other words, you don’t get to enjoy the benefits of a VPN service here.
Without further ado, here are the steps for changing an IP address on your iPhone with the lease renewal.
- Open Settings on your iPhone.
- Once again, tap on Wi-Fi and select the network you’re connected to.
- Scroll down and find the option that says “Renew Lease.” Tap on it.
- When prompted, tap on “Renew Lease” again and your IP address should change to another one from your ISP’s pool of IP addresses.
Can I Use a Free Proxy or a Free VPN to Change My IP Address on My iPhone?
Before wrapping up this guide, I quickly want to address two means of changing your IP on an iPhone. The first one is by using a free proxy. You can find hundreds of free proxies online and they will route your traffic through an alternate IP address.
However, free proxies are extremely dangerous because they’re often held by an unknown entity or company, so you don’t know if a particular proxy service collects and sells your personal info when using it. Not only that, but proxies have NO encryption or additional security!
This means that your ISP can still track your online activities and see that you’re using a proxy. Proxies are also slow and you’ll have to wait for quite a lot of time to properly load a website, which sometimes isn’t successful, depending on the proxy you’re using.
Last but not least, proxies usually don’t let you choose the country where you want to get an IP address, and if they do, you get up to 5-6 locations, unlike NordVPN where you get 111 countries. Speaking of NordVPN, we should mention free VPNs for your iPhone.
If you decide to use a free VPN, you better be ready for similar compromises. Free providers offer limited bandwidth, very slow speeds, unstable performance, and weaker security, although they’re a tad better than free proxies.
However, keep in mind that they offer just a few server locations to pick from and many of them openly sell your personal data to third parties (Hola VPN, looking at you!) to earn money. After all, the limited bandwidth of up to 10 GB a month should already be a big red flag, let alone all privacy issues.
That’s why I recommended NordVPN for this purpose as the most reliable solution with no limits. Not only does it have a big 70+% discount and a few free months for the 24-month plan (current deal) but its 30-day refund period lets you use it risk-free for 30 days.
Summary
With the tutorials on how to change your IP address on your iPhone, I think it’s safe to say that you have a few solid options. To be honest, I always recommend using a VPN for this purpose simply because it’s the safest method and provides tons of benefits at a very low price (a few dollars a month).
However, if you aren’t looking for these benefits and you don’t care about additional privacy or streaming capabilities, changing your IP on an iPhone manually or renewing the lease is also possible. Besides, it takes no more than a minute, making it quick and efficient.
Now it’s up to you to decide on which method for an iPhone IP change will you use. Is it going to be a VPN, free proxy, manual change, or something else?
FAQs
In this section, we’ll go over a few frequently asked questions related to changing your IP address on an iPhone.
What are the pros and cons of changing your IP on an iPhone?
There are many advantages of altering your IP address, be it on your iPhone or other devices. As mentioned, doing so will let you access geo-blocks and unblock websites you couldn’t access before. Another benefit is online security.
When you use a VPN for this purpose, it’ll conceal your original IP and mask your online activities. In addition, it’ll prevent ISP throttling, which lets you explore the internet at full speed. Changing your IP also lets you travel cheaper.
It allows you to save money on flight tickets and hotel rentals by pretending you’re in a less-developed country. As for downsides, there aren’t many as long as you’re using NordVPN or other quality VPNs. Still, it’s good to know you might still encounter geo-blocks.
Switching your IP on an iPhone means you won’t be able to access local content. Another problem might be connection slowdown, which will occur if you’re using a slower VPN. Logging can happen if we’re discussing free VPNs.
After all, the solution will cost you money if you decide to use NordVPN or any other paid service. If that bothers you, know that you can get a refund in the first 30 days and not lose a single dollar by using NordVPN or any other provider.
Is changing my IP legal?
It usually is. Some countries deem this illegal, such as North Korea, Belarus, Turkmenistan, and a few others. In the majority of the world, changing your IP address is legal and perfectly safe as long as you don’t perform illicit activities.
VPN not changing my IP on an iPhone, what can I do?
It looks like your VPN is not connecting if this happens. Or perhaps, it’s leaking your IP/DNS addresses. Most likely, you’re using a low-quality provider or facing issues with your network. The good thing to do is to try another server or use another protocol.
If the issue persists, you can try to update the VPN client and/or restart your iPhone. We recommend contacting the support team of your VPN if everything fails. It should be able to fix the problem promptly, even if it’s on your side.